Next.js로 만든 블로그에 댓글 기능 추가하기
2023.04.03
블로그에 댓글 기능이 있으면 좋겠다 싶어서 알아보다가 utteranc 위젯을 발견했다.
광고도 없고 사용하기 간편해 보여서 이걸 적용하려고 한다.
적용
utteranc 여기에서 써있는 순서대로 진행하면 되는데
필자의 경우 레포를 댓글 전용 레포를 하나 만들어서 그곳으로 댓글 이슈가 생성되게 했다.
블로그 게시물과 이슈 매핑은 첫번째 옵션 Issue title contains page pathname로 선택했다.
테마를 선택하고 아래에 이렇게 적용 스크립트가 나와있다.
<script
  src="https://utteranc.es/client.js"
  repo="HANYUNSEONG/hanyunseong-log-v2-comments"
  issue-term="pathname"
  theme="github-light"
  crossorigin="anonymous"
  async
></script>
그런데 이걸 그대로 소스에 붙여넣기를 하면 repo 부분에서 오류가 나는걸 볼 수 있을거다.
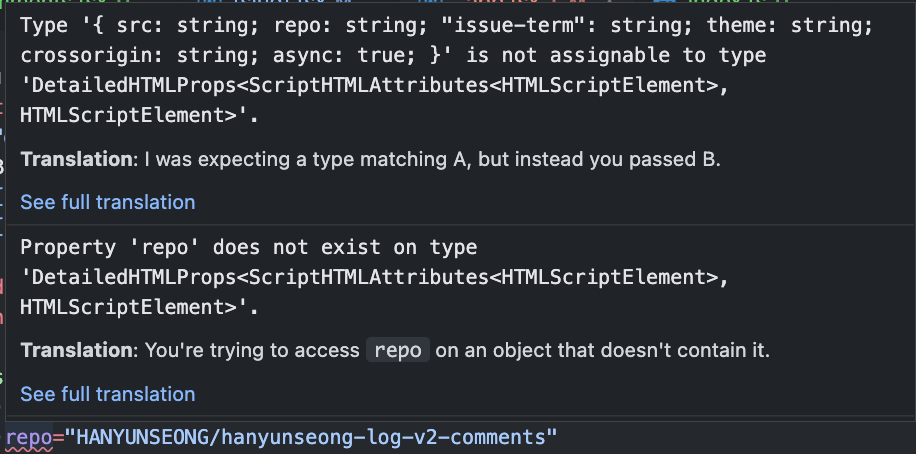
그래서 찾아보니 example for react use 이슈가 있어서 이 방법으로 적용을 했다.
UtterancesComments 컴포넌트 생성
const UtterancesComments = () => {
  return (
    <section
      ref={(elem) => {
        if (!elem) {
          return;
        }
        const scriptElem = document.createElement("script");
        scriptElem.src = "https://utteranc.es/client.js";
        scriptElem.async = true;
        scriptElem.crossOrigin = "anonymous";
        scriptElem.setAttribute(
          "repo",
          "HANYUNSEONG/hanyunseong-log-v2-comments"
        );
        scriptElem.setAttribute("issue-term", "pathname");
        scriptElem.setAttribute("label", "blog-comment");
        scriptElem.setAttribute("theme", "github-light");

        elem.appendChild(scriptElem);
      }}
    />
  );
};

export default UtterancesComments;
이렇게 컴포넌트로 만들고 사용할 곳에서 import해서 넣어주면 된다.
그런데 Next.js의 경우 일반적인 방법으로 import 할 경우 hydration 오류가 발생해서 dynamic import로 가져왔다.
import dynamic from "next/dynamic";
const UtterancesComments = dynamic(
  () => import("@/components/UtterancesComments"),
  {
    ssr: false,
  }
);
그리고 원하는 곳에 컴포넌트를 배치해주면?
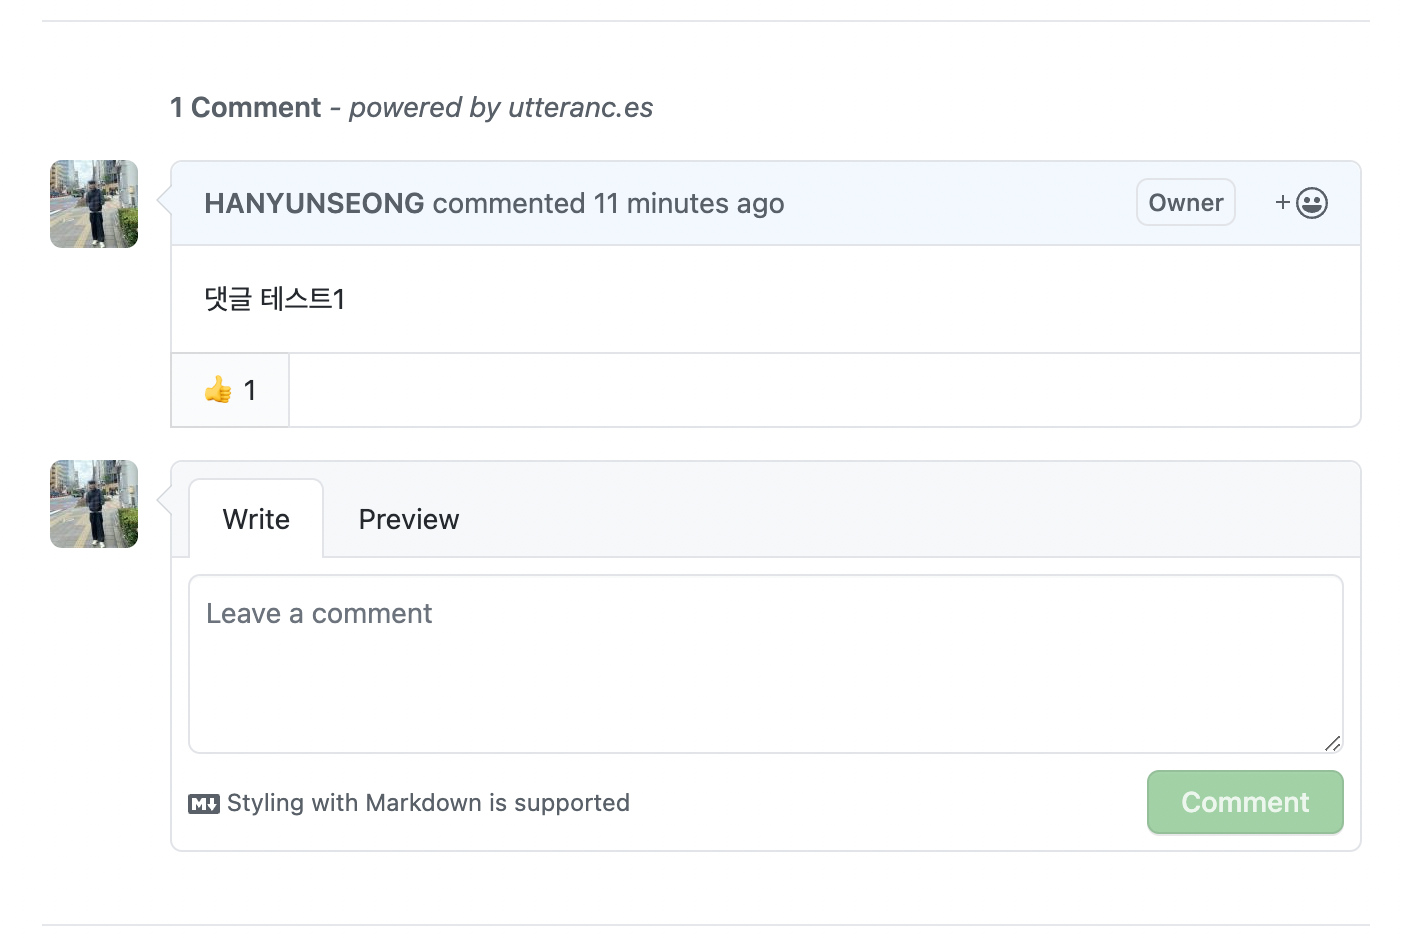
이렇게 댓글을 작성할 수 있고 작성한 댓글을 볼 수 있다!